TOP 5 Heat Sinks TOP 5 Low Profile Heat Sinks TOP 5 Liquid Coolers
Heatsinks by Brand / Mfgr Reviews + Articless Advanced Search
|
TOP 5 Heat Sinks TOP 5 Low Profile Heat Sinks TOP 5 Liquid Coolers Heatsinks by Brand / Mfgr Reviews + Articless Advanced Search |
Now for those willing to make a few modifications to their box, here is what you do for some serious airflow - by the way, this voids all warranties on that innocent little case in the corner of your room.
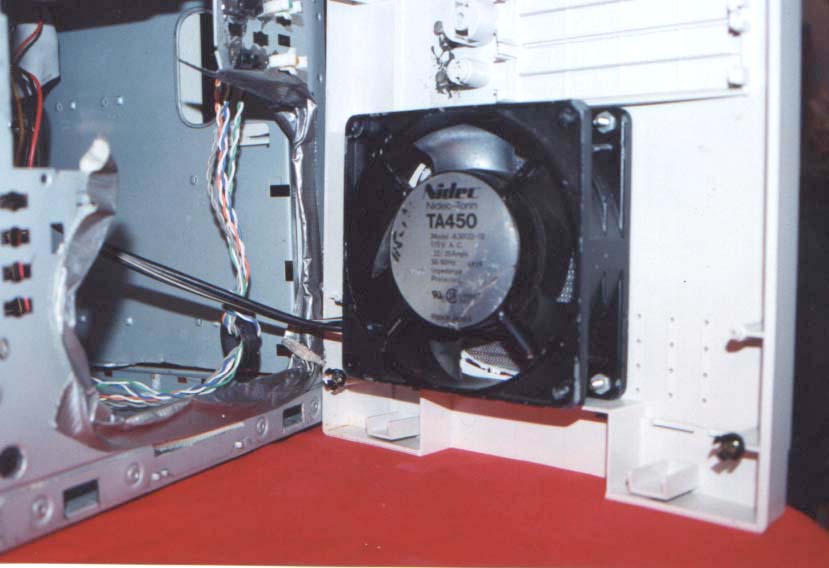
With your circular hole marked chooses your method of destruction - tin snips, hack saw, jig saw with hack saw blade, coping saw, or my favorite - angle grinder. At 10 Amps and 10,000 RPM it goes through that sheet steel like butter. Caution: if you use one of these don't fuck around, use eye protection and watch out those sparks land! Step two: cut hole. Depending on your tool this will take 30 seconds or 10 minutes to do. If the case has lots of holes and you start thinking "air can go through that", you're wrong. You won't get much air flow and will be putting a strain on the motor. Spend the time to cut out a nice round hole and attach the fan with nuts and bolts - or as one person I know likes to do - with prodigious amounts of quick set epoxy. 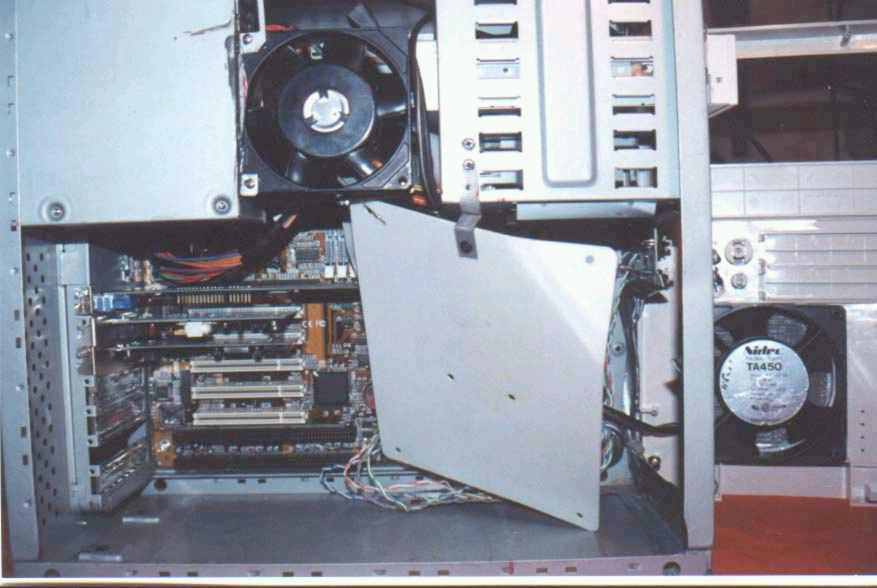
For the outlet, either drill a bunch of holes with a ?" bit in the metal directly behind the CPU, remove the plate as per above, or place three or so CPU fans side by side in an appropriately sized hole blowing out. In any case the size of the outlet hole located behind the CPU should roughly be the same size as that of the inlet. If the outlet isn't behind the CPU the escaping air may not travel over the CPU heat sink. 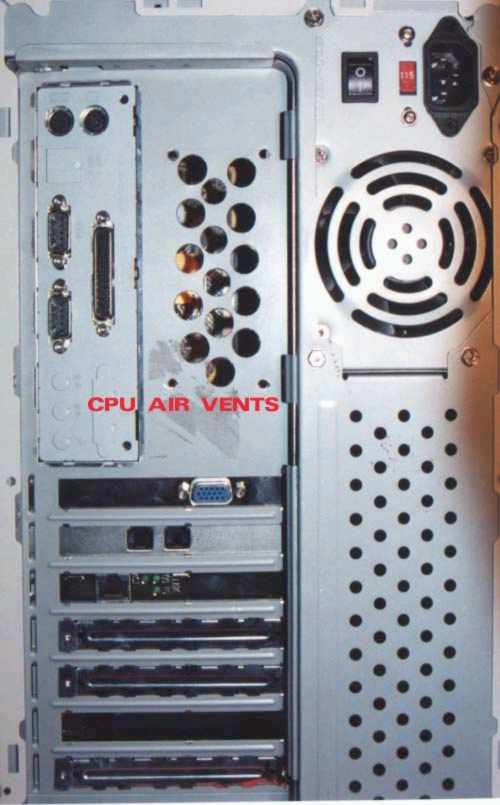 The idea being that if the outlet hole is too small the case will pressurize, and air flow will be fastest at the point where the holes are, but not necessarily over the components inside the case. A smooth flow of air in-through-and-out is ideal. 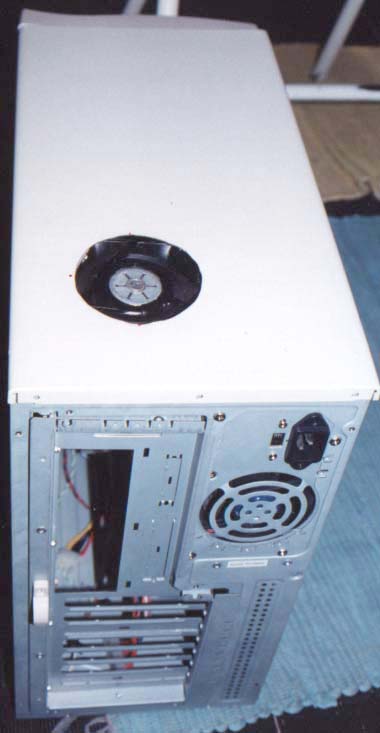 Now for the heat sink, the greater the surface area of the heat sink, the greater its capacity to cool an object. As the aluminum heats up, it requires air moving over its surface to cool down, since air is not very thermally conductive, the proportion of air moving over the surface must be large to remove a lesser amount of heat energy. Most heat sinks work best when the air is moving down onto (called impingement air flow) them. The fins on the heat sink should always be pointing up and vertical though. Convection occurs best in this arrangement. The area directly over the CPU will of course absorb the most heat energy, and the most powerful fan should be located here (fans with 0.18Amp rating or higher are good). For a Celeron, fans on each end should also be installed, these can be wired together and hooked up to the power supply, where as the center one could be connected to the motherboard. With a fresh supply of cool air coming in the case, being used to cool the CPU and then being expelled your heat sink should be much more efficient at cooling the CPU. The only downside is the noise of all those fans humming away! Such is the price to pay for a cooler running system. Ryemax | ||||||||||||||||